Adding Jump Bar
The jump bar is the alphabetical selection bar at the bottom of the view page where you can select different letters of the alphabet and jump to that portion of the records.

As part of the Microsoft Dynamics Wave 2 updates, the jump bar will no longer be displayed in the views. If the jump bar experience is important to your users, it can be added back in.
Steps to Add Jump Bar to Views
-
Login to make.powerapps.com and access your solution.
-
Select the required table (aka entity), click Controls > Add Control.
-
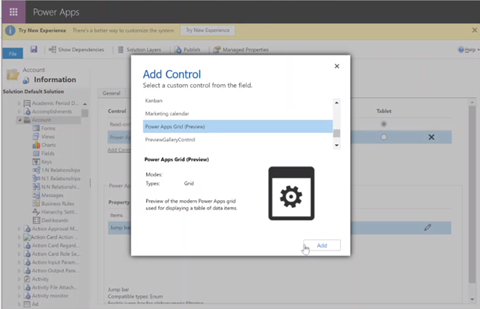
Select power apps grid view preview and click Add.
-
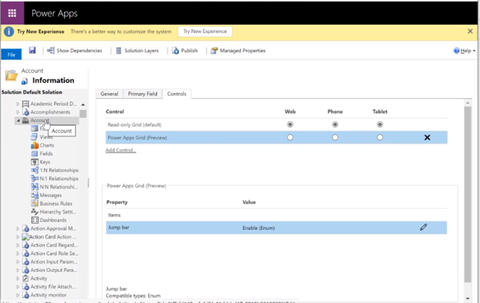
In the Power Apps Grid (Preview) Property listing, click the pencil icon next to the Jump Bar property.
-
Select Enable in the drop-down and then click OK.

-
Click Publish.
All the views for that table (aka entity) will now have the jump bar.
-
Repeat steps 2 through 6 for each table (aka entity) for which you want the jump bar enabled.