Using a Custom Get Started Configurations Page
After creating and configuring a custom Get Started configuration page, institutions can use the custom configuration page to replace the default Get Started configuration page in the Student Success feature.
Steps to Use a Custom Get Started Configuration Page
-
In the Anthology Reach solution, navigate to Settings > Customizations > Get Started Configurations.
-
Select the required Get Started configuration page and click to view its details.
-
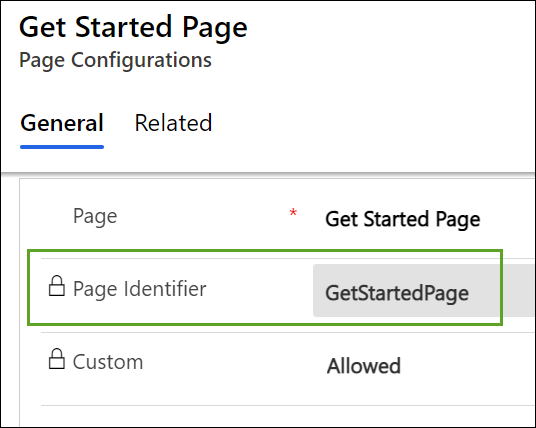
Click the General tab, and copy the value displayed in the Page Identifier field.
-
Navigate to the Apps page by clicking Anthology Reach on the header.
-
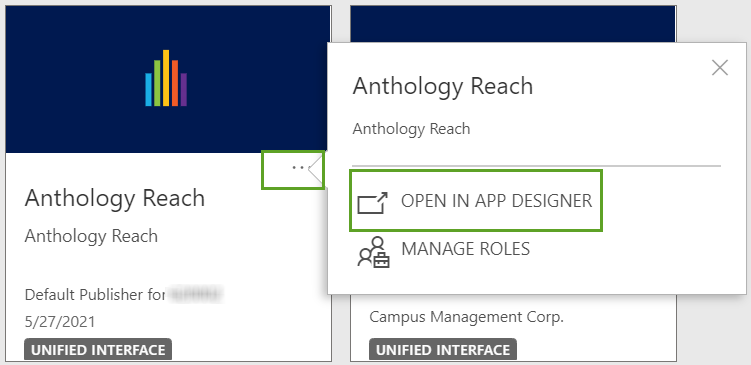
In the Anthology Reach, click the ellipsis (...) and click the OPEN IN APP DESIGNER option.
-
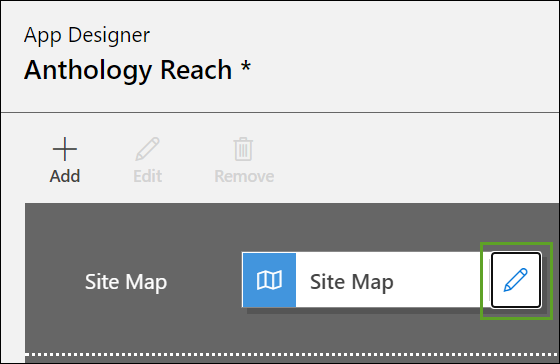
In the App Designer page, Site Map tile, click the edit icon.
-
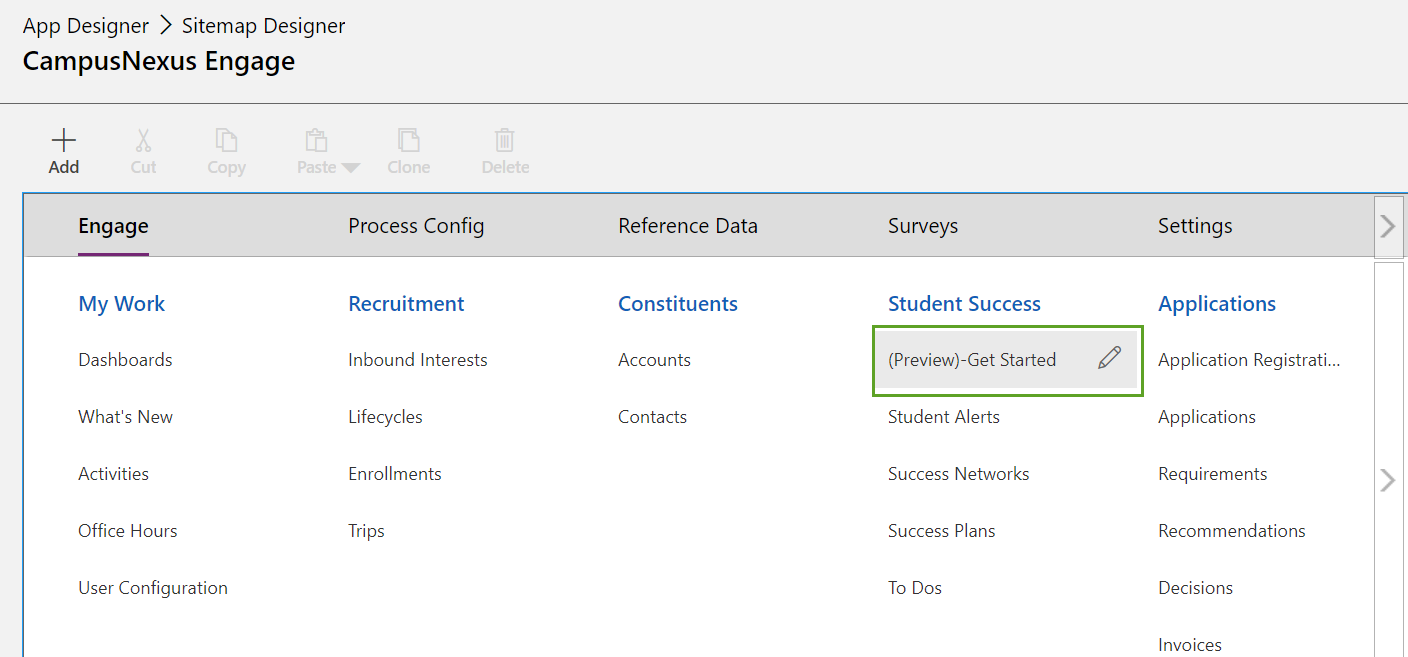
In the Surveys section, click the edit icon in the Get Started Page.
-
In the right pane, in the Components tab, in the URL field, replace the page identifier (in red) with the Page Identifier value copied in Step 3.
$webresource:cmc_/Pages/StudentSuccessGetStarted.html?Data=pageidentifer%3DGetStartedStudentSuccess
-
Click Save and Close.
The Get Started link in the Student Success module in Anthology Reach will display the custom Get Started Page configurations.