CampusNexus CRM can be installed and configured in a Cluster Server environment. For detailed instructions follow the links below.
Preinstallation Tasks
Perform the following steps on the computer where you want to install the Cluster Server:
-
Configure Microsoft (MS) Cluster Server in an Active-Passive cluster environment (2-node cluster).
-
Install Microsoft SQL Server using the New SQL Server Failover Cluster Installation option (single-node) on Cluster Node 1 computer using SQL Server Setup.
-
Install Microsoft SQL Server using the Add node to a SQL Server Failover Cluster option on Cluster Node 2 using SQL Server Setup.
-
Provide the SQL Server Network name and Cluster Network IP address during the installation of Microsoft SQL Server.
-
Provide the path of the Cluster Disk for the target and backup folders of the CampusNexus CRM Database component during installation.
Note: The Primary Cluster Node on MS Cluster Server owns all Cluster Resources.
For more information, see http://technet.microsoft.com/en-us/library/dn505754.aspx and http://technet.microsoft.com/en-in/library/hh231721(v=sql.110).aspx.
Open and View the Failover Cluster Manager
To open the Failover Cluster Manager and view the details, perform the following steps:
-
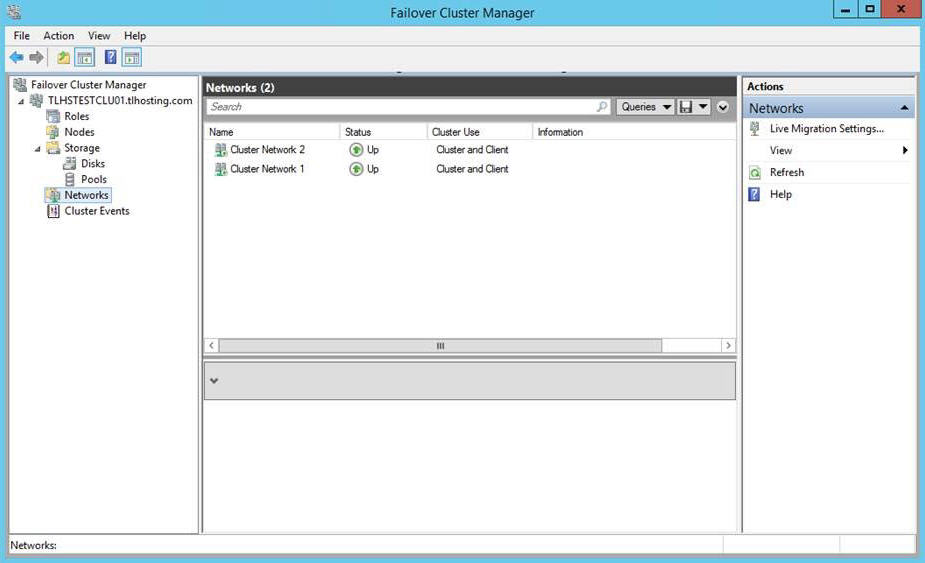
From the Start menu, open Failover Cluster Manager. The Failover Cluster Manager is displayed.
-
Click <Virtual Cluster Name>.<Domain Name>.com\Networks in the left pane to view the network details.
-
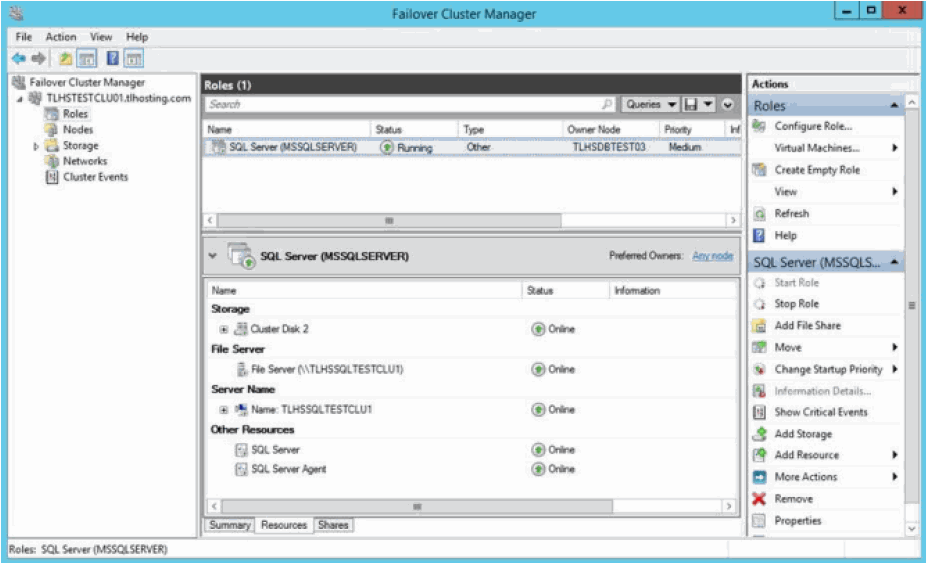
Click <Virtual Cluster Name>.<Domain Name>.com\Roles in the left pane to view details of the Roles.
Install and Configure CampusNexus CRM
Note: In the testing environment, Application Server, Client, and Data Management Utility are installed outside the Cluster environment.
To install CampusNexus CRM, perform the following steps:
-
Install the Main database, Distributor database, and all Subscriber databases on the Primary Node of MS Cluster Server.
-
Provide the path of the Cluster Disk for the target and backup folders of the Database component during installation.
-
Restart the Primary Cluster Node.
-
Ensure that all Cluster Resources are assigned to the Primary Node after the computer is restarted.
-
Install Application Server on a computer that is outside the Cluster environment.
-
Install all CampusNexus CRM components across multiple computers outside the Cluster Server.
Notes:
-
It is not mandatory to install Distributor and Subscriber databases in a clustered environment.
-
Every time the Primary Cluster Node is restarted, it is mandatory to assign all Cluster Resources to the Primary Cluster Node.
To configure CampusNexus CRM on the Secondary Cluster Node, perform the following steps:
-
Shut down the active Cluster Node.
-
Enter the Failover Node on the Cluster Node field and then install.
Notes:
-
Ensure that the registry information on the Primary Cluster and Secondary Cluster Nodes is identical.
-
The installation of the Failover Node needs to be done after the installation of all other CampusNexus CRM components is completed.
Simulate a Resource Failure
You can simulate the failure of a Resource and verify its status on the Primary Cluster Node. Further, you can verify if the failed Resource starts automatically on the Secondary Cluster Node.
To simulate the failure of a service, perform the following steps:
-
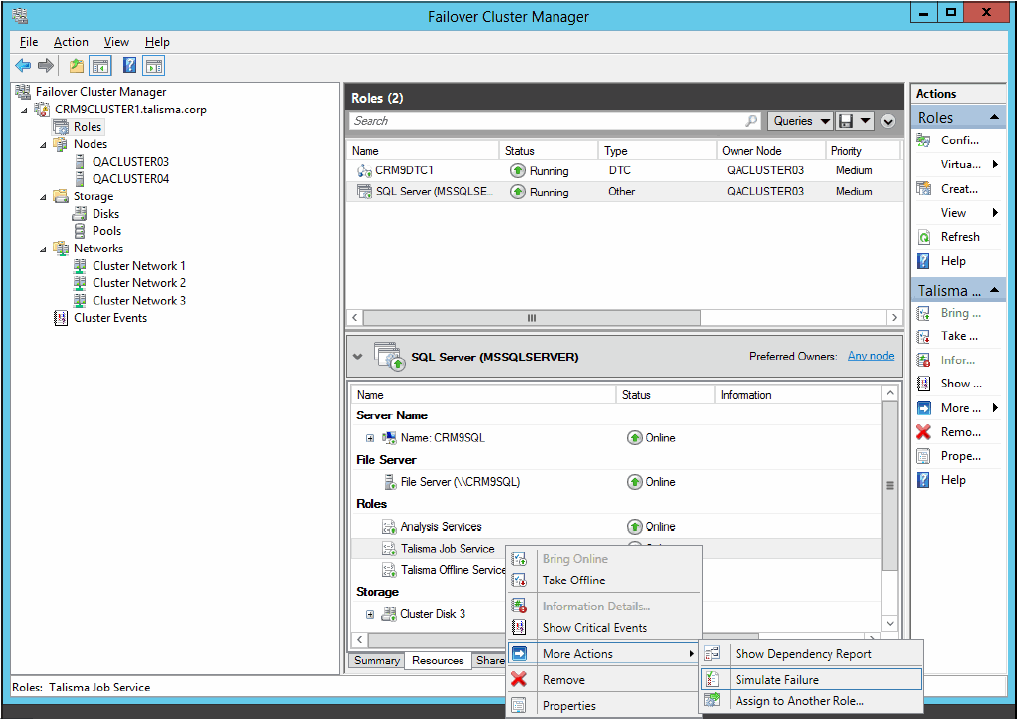
Open the Failover Cluster Manager on the Primary Cluster Node. For steps to open the Failover Cluster Manager, see Open and View the Failover Cluster Manager. All available Resources are displayed in the right pane.
-
Right-click a Resource and select More Actions, Simulate failure of this resource.


