The Tools menu in Installation Manager provides tiles to access the following options:
-
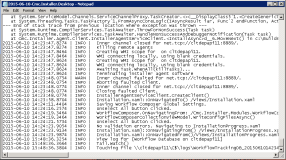
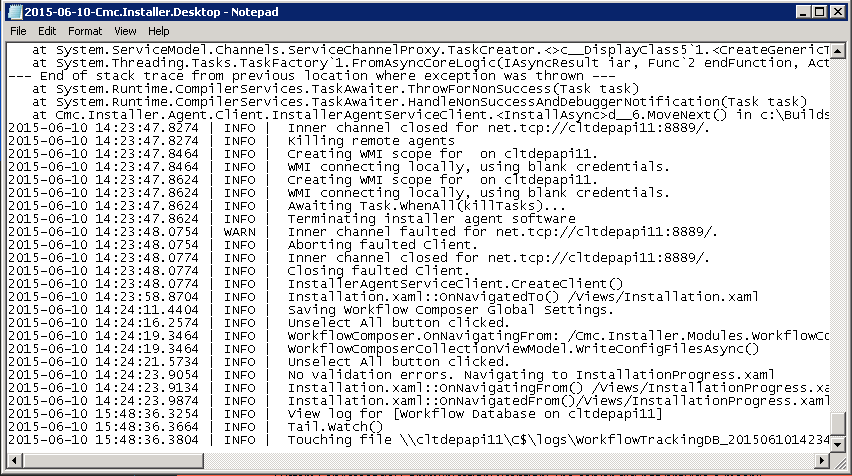
The log screen displays exceptions and error messages that occurred during the installation of a product. The log screen is used by Installation Manager and not one particular product that is being installed. Installation Manager application logs are written to
C:\logs. Logs for the products that are installed with Installation Manager are written to different folders. For example, CampusNexus CRM logs are written toC:\Program Files (x86)\Common Files\Talisma Shared\SetupLog. -
This option enables you to copy all configuration settings of Installation Manager to a ZIP file.
-
This option restored the configuration settings of Installation Manager from a previously exported ZIP file.
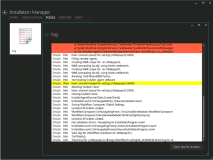
View Logs
-
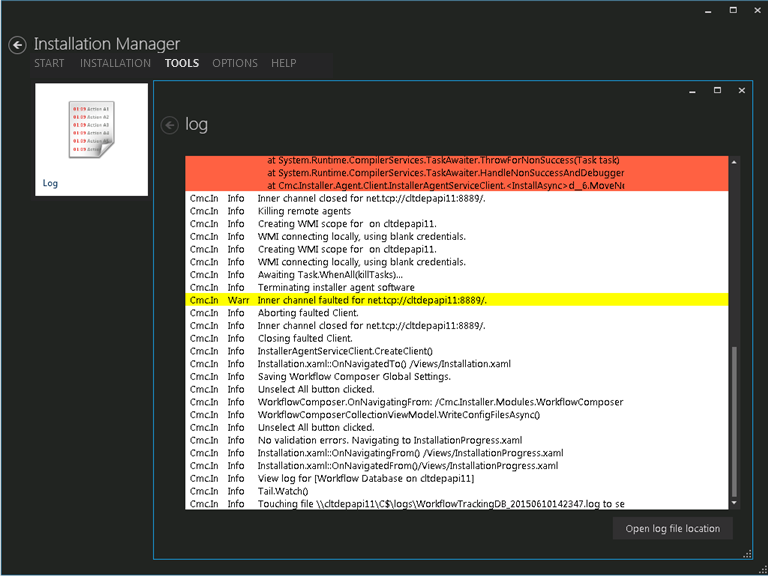
Navigate to Tools and click the Logs tile. The Log Viewer screen is displayed.
-
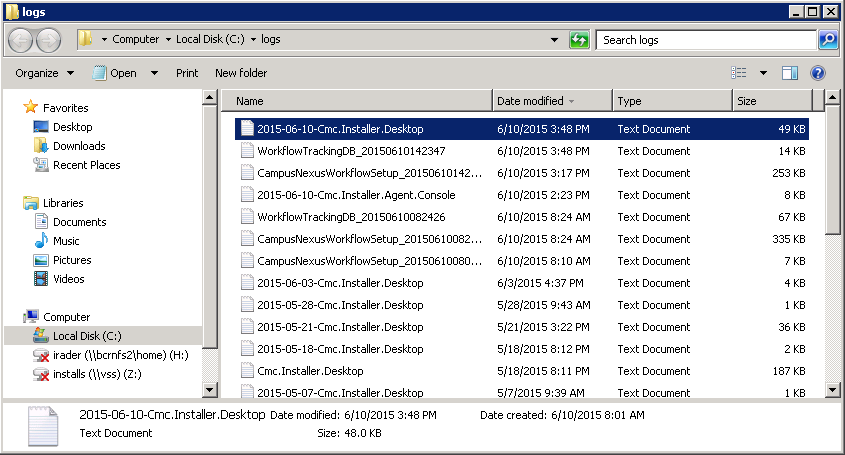
Click Open log file location. The
C:\logsdirectory is displayed.
-
Select the appropriate log file and double-click it to view it in a text editor.
-
Close the editor and the Log Viewer screen to return to Installation Manager.
Export Settings
-
Click the Export Settings tile to copy all the configuration settings of Installation Manager. This is useful if you want to copy the settings from one machine to another machine or if you have removed them from C:\\Program Files (x86)\CMC\CampusNexusInstallation Manager\Packages and want to apply the previous Installation Manager settings after re-adding packages.
-
A confirmation message is displayed indicating the location of the
IMSettings-<datetime>.zipfile that contains the configuration settings.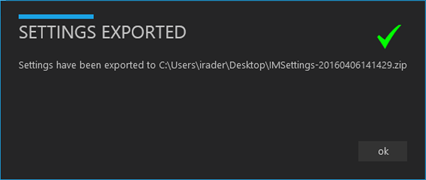
Import Settings
-
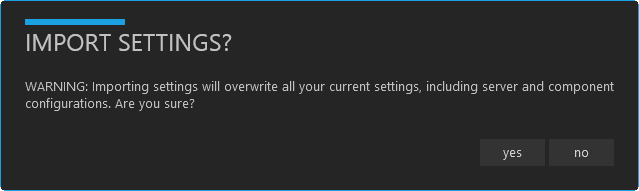
Click the Import Settings tile to import the configuration settings of Installation Manager. The Import Settings warning message is displayed.
-
Click Yes on the Import Settings warning message to continue.
-
Select the
IMsettings-<date-time>.zipfile and click OK. The Restart Installation Manager message is displayed. -
Click Yes to restart Installation Manager.