My Documents
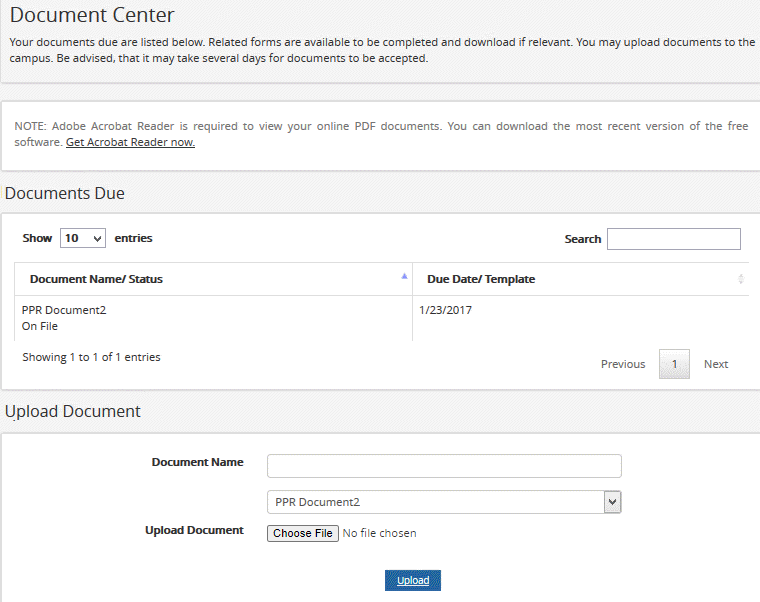
The My Documents submenu allows you to access the Document Center. The Document Center provides a centralized location where you can view which documents are due and upload them. You can also view previously submitted documents.
Institutions can perform the following tasks:
-
Define document statuses that identify the document as due online.
-
Define the document status that is used when a student document is uploaded from Student Portal.
-
Select a Contact Manager activity and target associated with document submissions.
-
Define a document path to be used when students upload files.
-
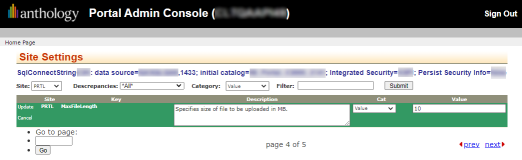
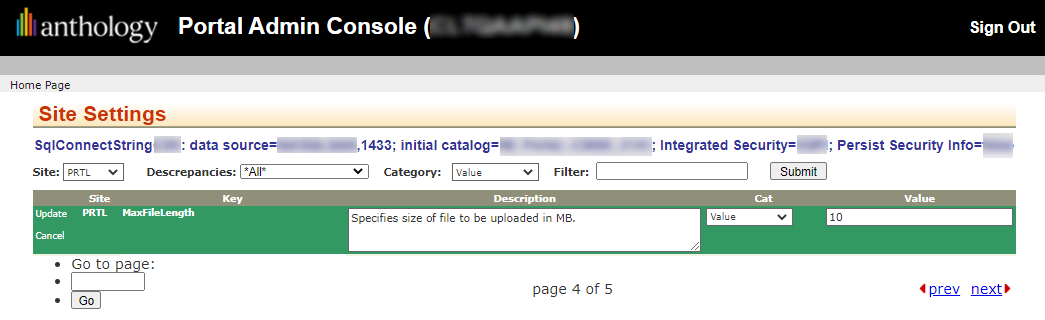
Define the maximum file size for uploaded files. The default setting for maximum file size is 10 MB.
-
In the Portal Admin Console under Settings and Environment, select Site Settings.
-
Select your site and locate the MaxFileLength key.
-
Click the Edit button and specify the maximum file size in MB, and click Update.
-
Upload and View Documents
-
Navigate to My Documents > Document Center. The Document Center page is displayed.
-
In the Document Name list, select the type of the document.
-
Click Choose File and navigate to the document in your local folders.
-
Click Upload. The document is uploaded to the Student Portal.
-
Click View Previously Submitted Documents. The list of your submitted documents and the dates on which they were received are displayed.
Use the Show _entries drop-down list to set the number of rows displayed in the grid. Use the Search option to locate specific items within the grid.
-
Click Back to My Documents. The Document Center page is displayed.