Create a User Account
If the Portal for your campus is configured accordingly, you can create a user account for the Student Portal.
-
Type the Portal URL provided by the institution in the address bar of your browser. The Portal home page is displayed.
-
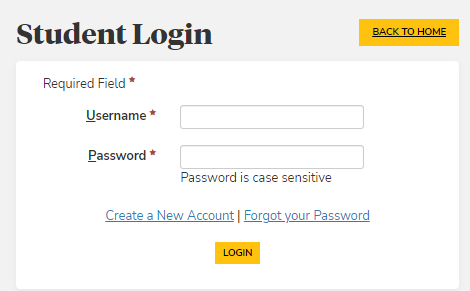
Click the Login button and select the Student Portal Homepage link. The Login page is displayed.

-
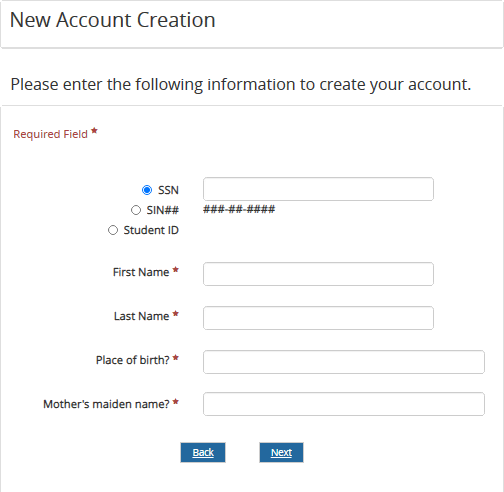
Click the Create a New Account link. The New Account Creation page is displayed.
Note: The Create a New Account link is configured by the Portal administrator. The link can be enabled or disabled (hidden).
-
Type your details in the displayed page to create a new account. Items marked with an asterisk are required.
Select Social Security Number (SSN), Social Insurance Number (SIN), or Student ID, and enter the information in the format shown.
The SSN, SIN, or Student Number will be used if a Portal account is created for an existing student at the institution.

Depending on your institution, you may be required to answer one or more security questions. The answers to the questions will be used to authenticate you if you should forget your password.
If Portal is deployed in a cloud environment with Azure Active Directory (AAD), use the steps on the following website to access the self-service password reset: