Online Application
The Online Application menu provides access to the online application form for the institutions represented in the portal. The online application form typically consists of eight steps:
-
Applicant's primary and personal information. Upon completion of this step, a student record is created in Anthology Student.
-
Additional personal information from the applicant
-
Applicant’s program selection (start dates, terms, billing method)
-
Applicant's academic history
-
Personal statement or list of required documents
-
Review and edit all data entered to this point
-
Online application payment, if required. If a payment is required, the applicant cannot move to the submission step unless the payment is made.
-
Submit the application. The submitted applicant record is stored and follow-up by Admissions staff is required (application or enrollment).
Each step must be completed before you can advance to the next step. A progress indicator displays which step you are in. If you cannot finish the application during the session, save your information and start at the step where you left off when you log on again.
View and Submit Your Online Application
-
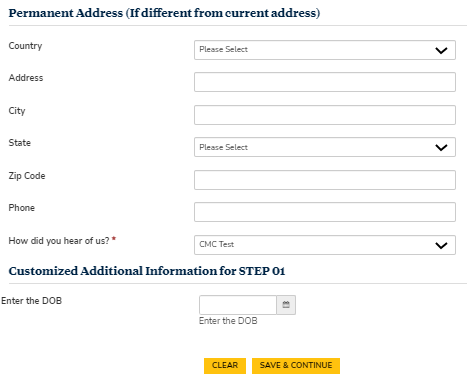
Select Online Application and follow the instructions on the form. Items marked with an asterisk are required. When you scroll down, an arrow icon appears next to the scroll bar. Click
 to return to the top of the page. Click Clear to remove your entries on the form. Click Save & Continue to proceed to the next step.
-
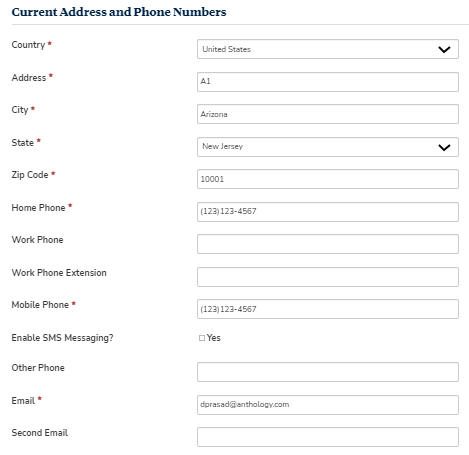
Personal Information
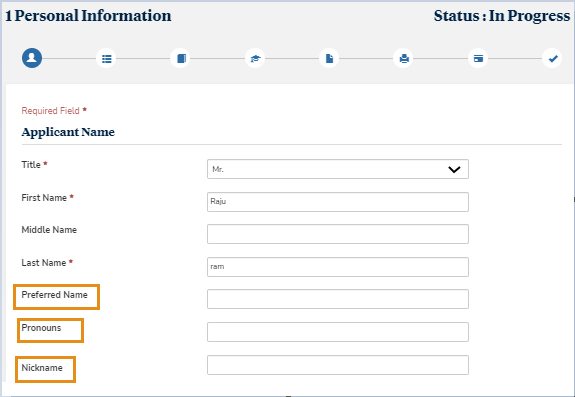
Note: You can designate preferred name, pronouns or nickname in addition to your legal name.
-
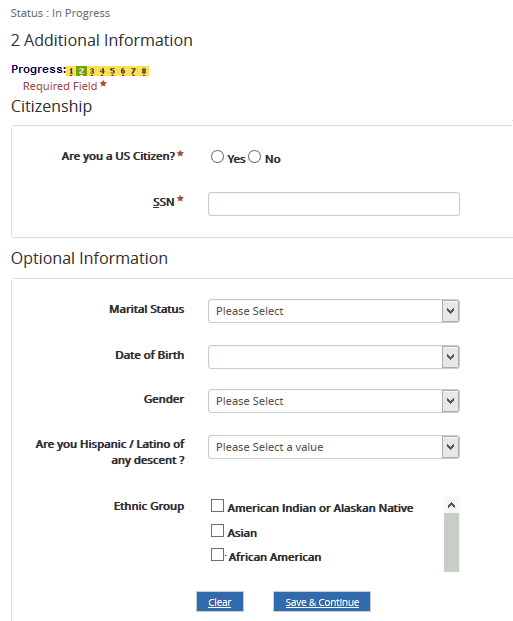
Additional Information
-
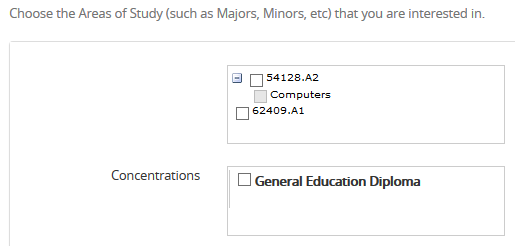
Academic Information
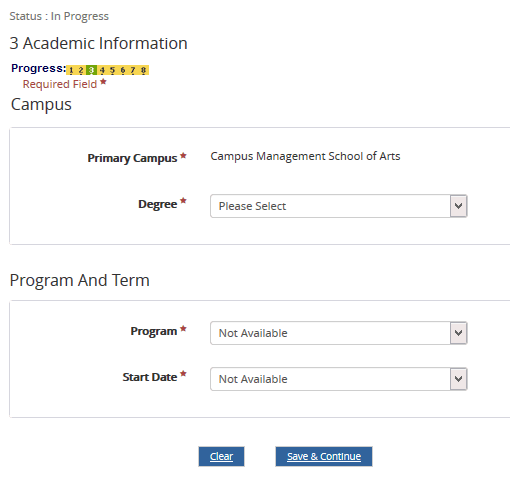
After you have selected the Program and Term, you are prompted to select the Areas of Study and Concentrations.
-
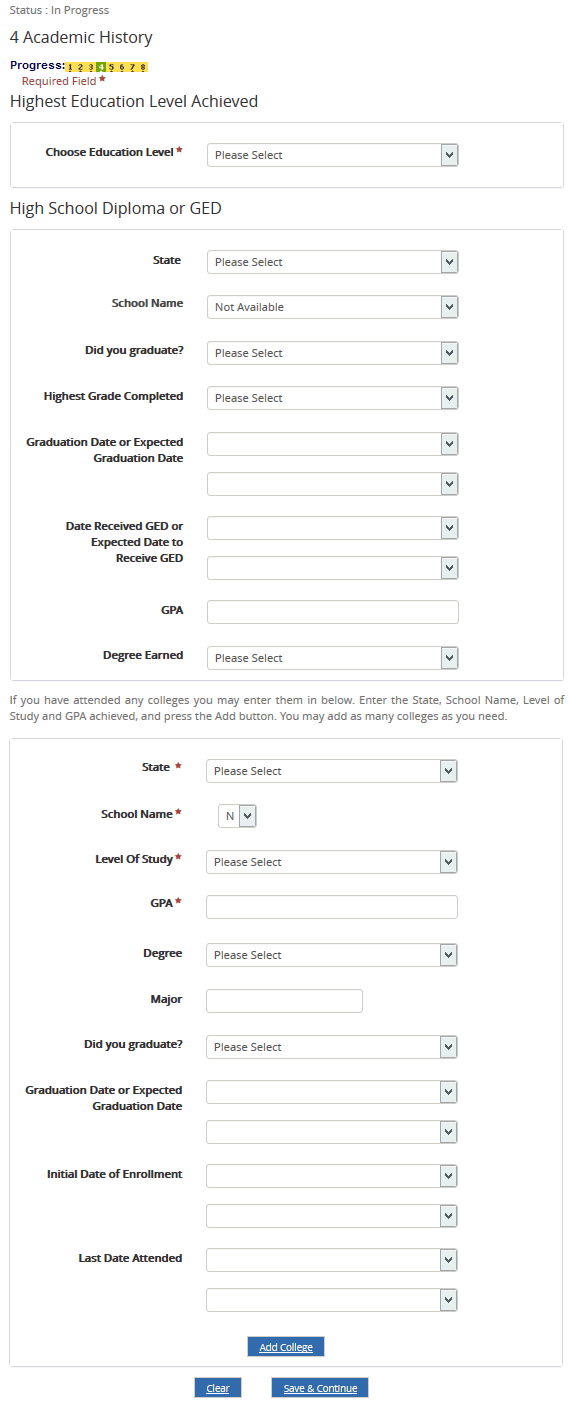
Academic History
-
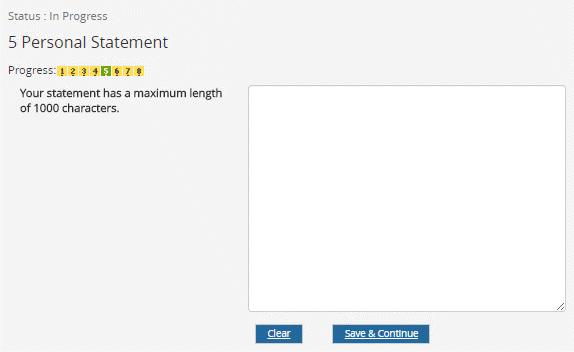
Personal Statement
— OR —
Required Documents
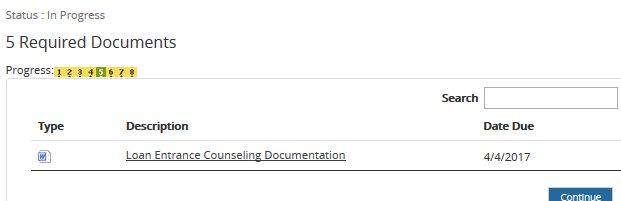
-
-
Step 6, Review & Print, allows you to view all sections of the form on one page.
If necessary, click Edit to make changes in a section. After you edit information, click Save, and you will be brought back to this page.
-
Select the Print Page link at the top of the page to print the application using your local printer.
-
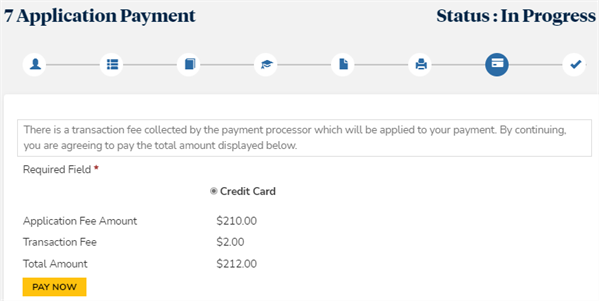
Select Save & Continue to proceed to the Applicant Payment page.
Depending on the configuration of your institution's Portal, the discloser information related to the payment processor transaction fee is displayed along with application fee amount, transaction fee and the total amount.
Note: The transaction fee is calculated based on the fee configuration done in Anthology Student. If you want to display the text message regarding the transaction fee, then you must configure the credit card payment pages to calculate and display the payment processor transaction fee.
-
The Payment Processor Transaction Fee and Transaction Fee Disclosure config items are applicable only when the payment processor for the campus is ACI.
-
The Transaction Fee Disclosure message will be displayed only if the Payment Processor Transaction Fee option is set to Display transaction fee.
-
-
Select Pay Now.
Depending on the configuration of your institution's Portal, the payment page of the payment gateway provider is displayed.
-
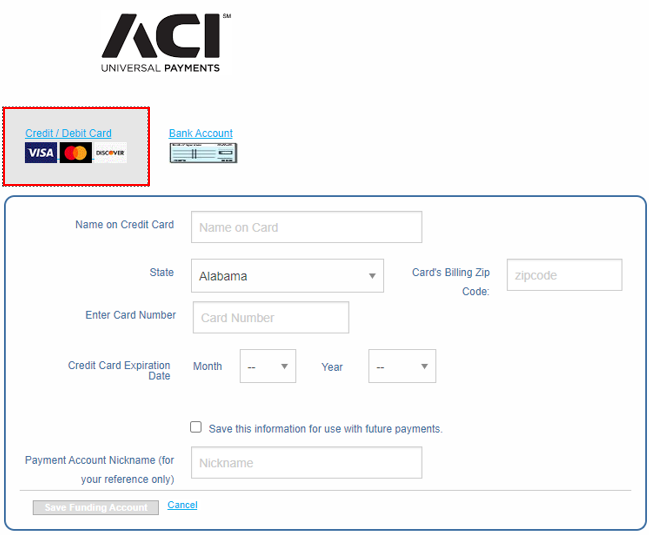
ACI

-
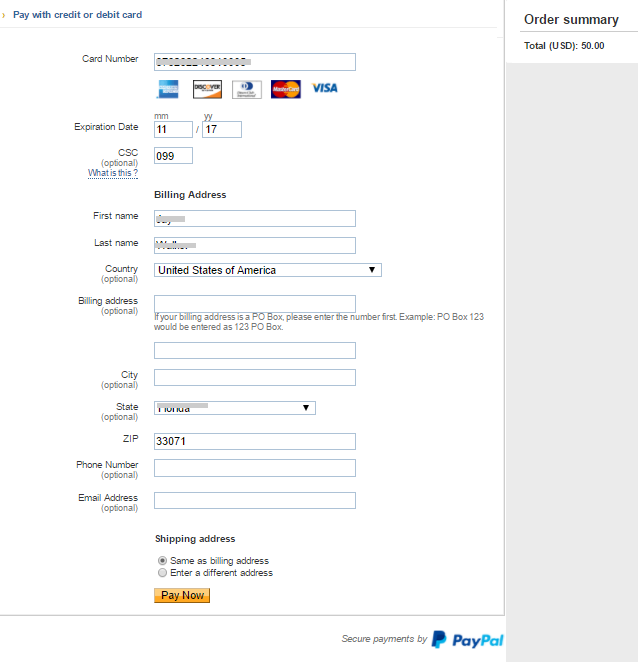
PayPal
-
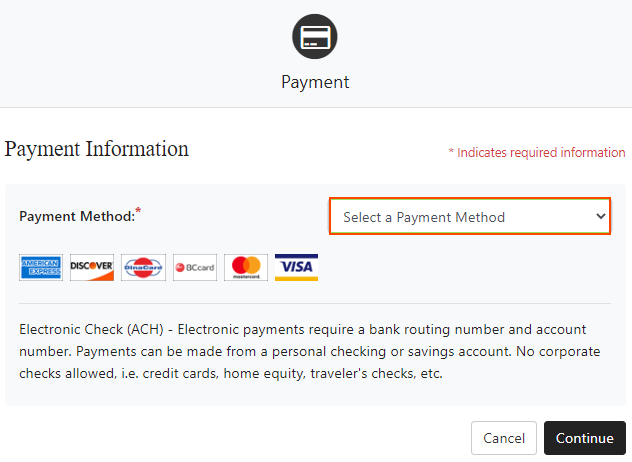
TouchNet
Note: Portal
-
You can configure an ACH processor for the campus to process ACH or bank account payments with TouchNet or ACI as the payment gateway provider.
-
You can configure a credit card processor for the campus to process credit card payments with ACI or PayPal as the payment gateway provider.
For payment gateway providers other than TouchNet or ACI, you can add bank account information to be available on the Payment Information page, but you will not be able to use bank accounts for making live ACH payments.
-
-
Specify the required details for your credit card and billing address.
-
Click the appropriate button to save your settings and make the payment.
-
A confirmation page from the payment gateway provider is displayed. Click the merchant link to return to the Portal.
-
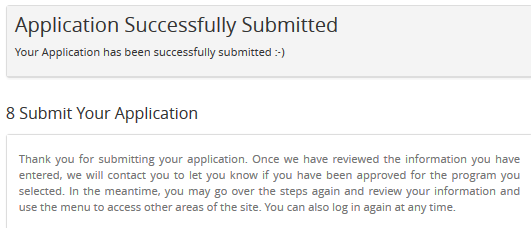
Select Submit Application.
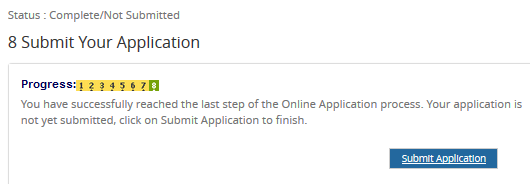
Your online application is submitted, and the confirmation page is displayed.