Generate RSA Keys
The Live Assist integration requires a private and a public RSA key for secure communication using the SSH protocol. The private key is used to generate digital signatures. The public key is used to verify digital signatures.
-
The private key is added in the TPC settings (see Configure the TPC Portal).
-
The public key is used to configure the Live Assist Administration Portal (see Set Up Authenticated Chats).
Generate Keys Using Shell Script JWTRS256
-
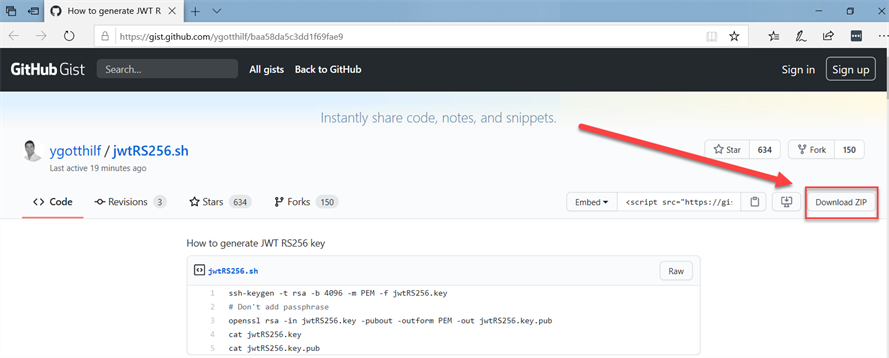
Navigate to GitHub and download the zip file to your local machine.

-
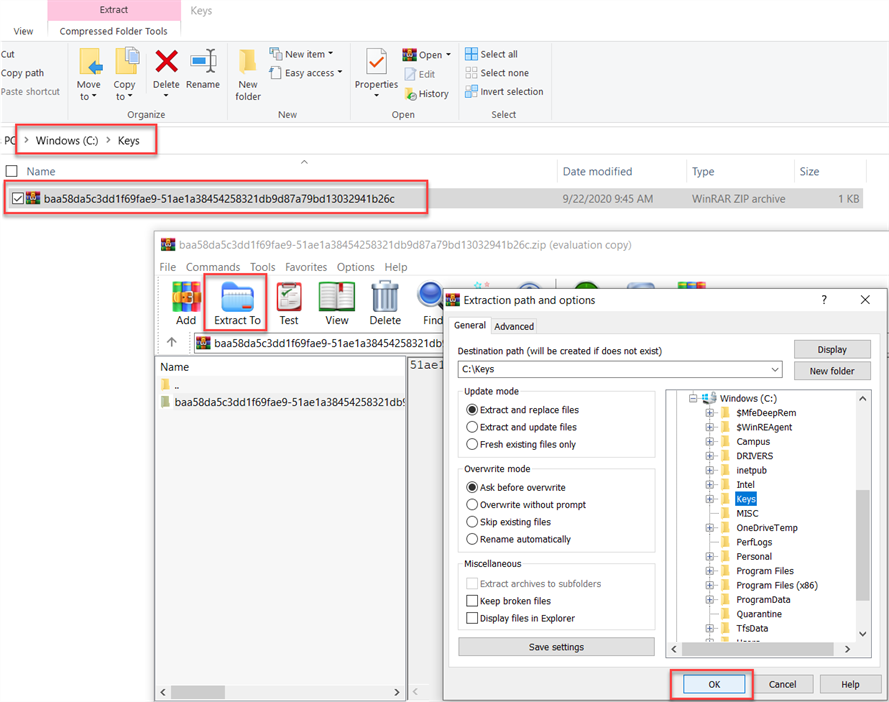
Navigate to your local directory where you downloaded the zip file and extract the zip file to the local folder.
(In our example, we created a new folder named "Keys" on the local drive.) .

-
The script should now be extracted to the folder on your local drive.

-
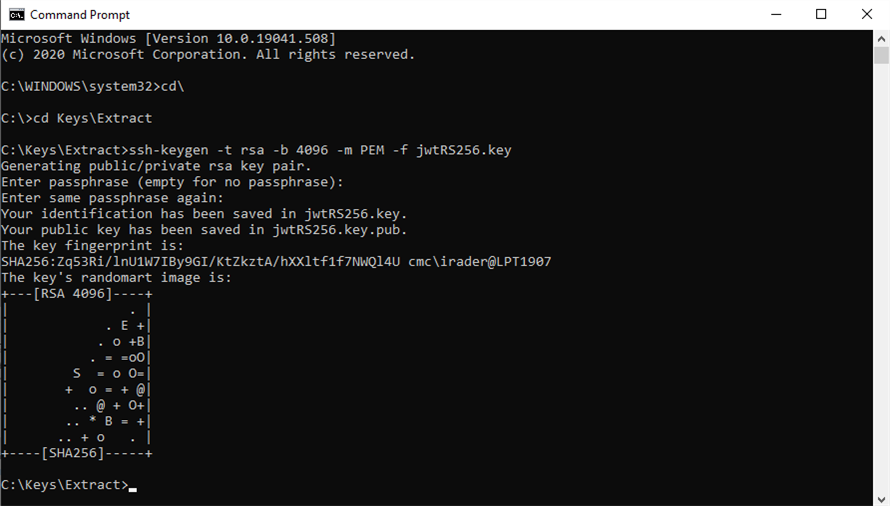
Open a Command Prompt and navigate to directory where the script file was extracted and hit Enter.

(In our example, the path is cd Keys\Extract)
-
At the directory in the command window, type the following and hit Enter.

ssh-keygen -t rsa -b 4096 -m PEM -f jwtRS256.key
-
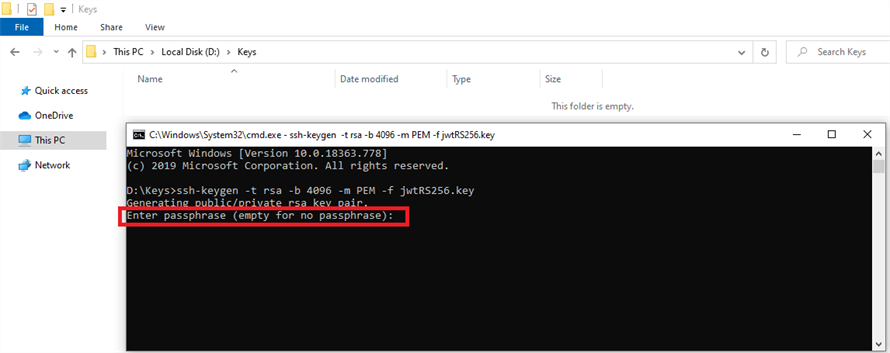
Leave the passphrase empty and hit Enter.
-
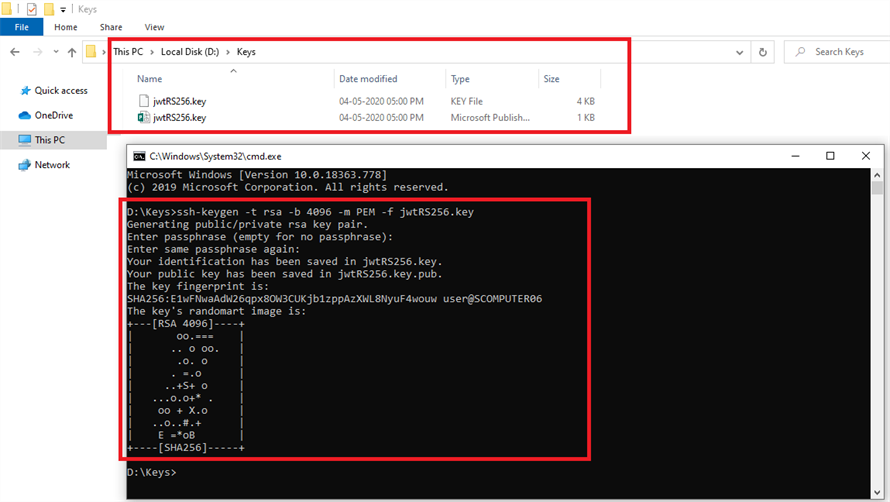
The script executes and generates 2 files in your local folder:

- Private key: jwtRS256.key
- Public key: jwtRS256.key.pub
-
Open the jwtRS256.key file of type KEY File in Notepad. This is the RSA private key.
-
Open jwtRS256.key.pub file of type Microsoft Publisher Document in Notepad. This is the RSA public key.
Important: Live Assist only supports RS256 signed JWTs.
The Live Assist integration requires a private and a public RSA key for secure communication using the SSH protocol. The private key is used to generate digital signatures. The public key is used to verify digital signatures.
-
The private key is added in the TPC settings (see Configure the TPC Portal).
-
The public key is used to configure the Live Assist Administration Portal (see Set Up Authenticated Chats).
The following steps describe how to generate the keys using the ssh-keygen utility on a Windows 10 computer.
-
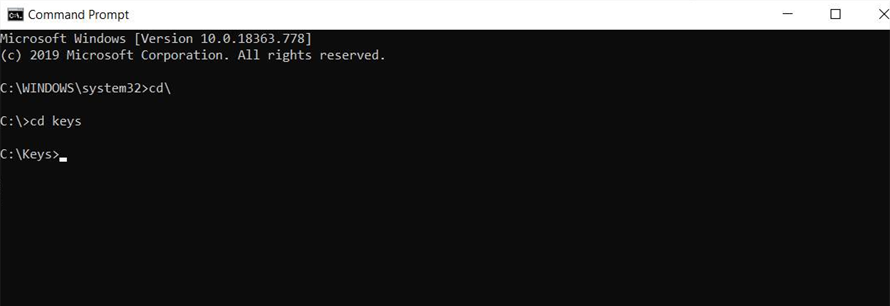
Navigate to any directory. (In our example, we created a new folder named 'Keys' on the local drive.)

-
Run the following command:
ssh-keygen -t rsa -b 4096 -m PEM -f jwtRS256.key
-
At the Enter passphrase (empty for no passphrase): prompt, press Enter.

-
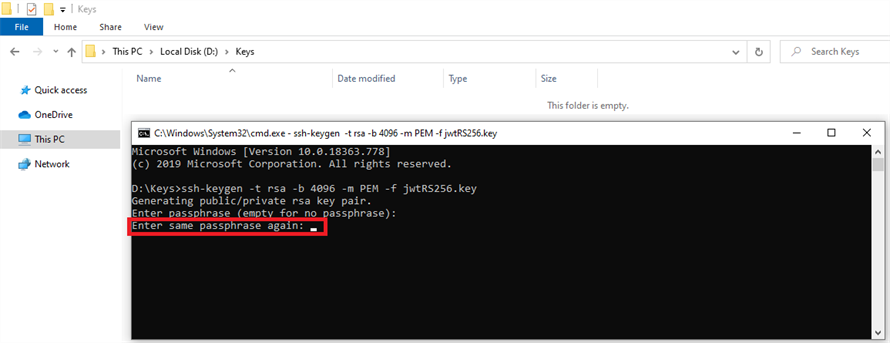
At the Enter same passphrase again: prompt, press Enter again.

-
Once command runs successfully, public and private RSA keys are generated in the selected directory.
-
Open the jwtRS256.key file of type KEY File (.key” in Notepad. This is the RSA private key.
-
Delete the first line (“-----BEGIN RSA PRIVATE KEY-----“) from the jwtRS256.key file.

-
Delete the last line (“-----END RSA PRIVATE KEY-----“) from the jwtRS256.key file.
-
If ‘Word Wrap’ is enabled in Notepad, disable it by selecting Format > [clear] Word Wrap.
-
Carefully remove all the line spaces between the lines.
-
Copy the private key to clipboard.
-
-
Open jwtRS256.key file of type Microsoft Publisher Document (.pub) in Notepad. This is the RSA public key.
-
Delete the text ssh-rsa and the space before the public key from the jwtRS256.key.pub file.

-
Delete the tail texts (like “ \user@computername”) and the space before the text from the “jwtRS256.key.pub” file.
-
Copy the public key to clipboard.
-

