Required Documents
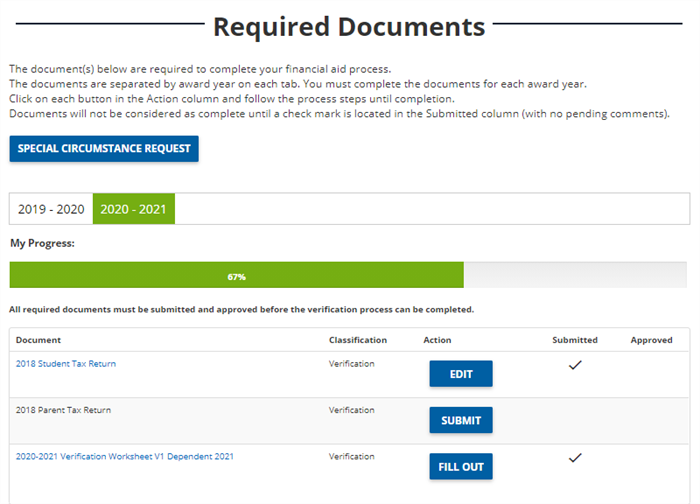
The Required Documents page is multi-award year. If a student is selected for verification for a specific award year, the appropriate award year is populated. The student will need to select the award year to view required documents.
The My Progress bar provides a percentage of documents completed. The Classification column identifies documents based on the categories of Verification, Comment Code, and Professional Judgment. The Action column enables students to fill out, edit, and submit required documents.
Important: The Submitted column indicates a check mark when a document is successfully submitted by the student and/or staff member. The Approved column indicates a check mark when a document has been approved by a staff member.
Students can fill out, edit, and submit required documents from a mobile device or from a desktop device.
Submit Documents from a Mobile Device
Students can take an image of a document on a mobile device and submit the image to the Student Verification portal. The application will convert the image to a PDF file.
In the case of multi-page documents, students upload images of each page in sequential or chronological order. The application will combine the images into one PDF file hat will be saved under one document version and document type.
The following steps provide an example of a student submitting a multi-page document from a mobile device.
-
Log in to the Student Portal.
-
On the Home page, select the Required Documents tile or select the Get Started button.
-
Select a document to Submit.
-
Select I am ready to Upload.
-
Take a photo of the document and upload it. For multi-page documents, select the page images in correct order.
Note: PDF, JPG and TIFF files are accepted
Upload multi-page documents in sequential or chronological order, for example, page 1, followed by page 2, etc.
-
-
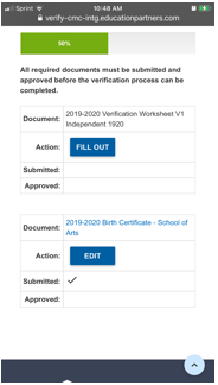
In our example, we uploaded a birth certificate. See that the document shows submitted status and the Edit option is available.
-
If it necessary to upload a new version of the document, select Edit.
-
Select I am ready to Upload.
-
Take a photo of the document and upload it.
-
Submit Documents from a Desktop Device
The Verification Worksheet is the most common required document for a student selected for verification.
The following steps provide an example of a student filling out a Verification Worksheet from a desktop device.
-
Log in to the Student Portal.
-
On the Home page, select the Required Documents tile or select the Get Started button.
-
Select the Fill Out button for the Verification Worksheet.
-
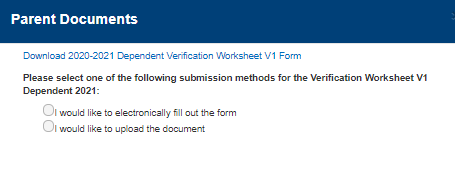
A modal window provides the following options:
-
Download a blank Verification Worksheet from the link at the top.
-
Fill out the form electronically.
-
Upload a filled out document.
-
-
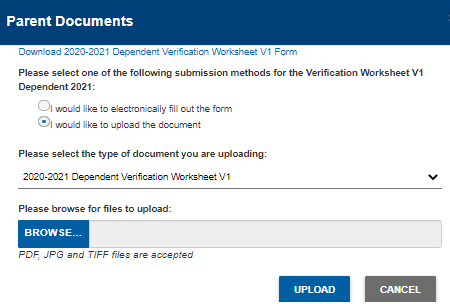
Choose the upload option if you have downloaded and filled out the blank PDF form and saved it on your device.
Select the Browse button and navigate to the file and select the Upload button.
-
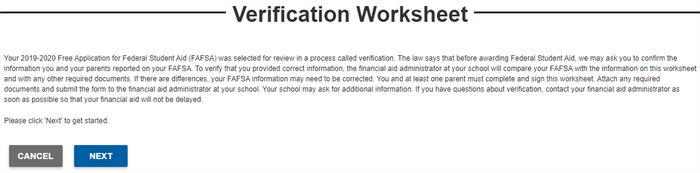
If you choose to fill out the form electronically, the Verification Worksheet wizard is displayed. The wizard divides the Verification Worksheet into multiple sections.
-
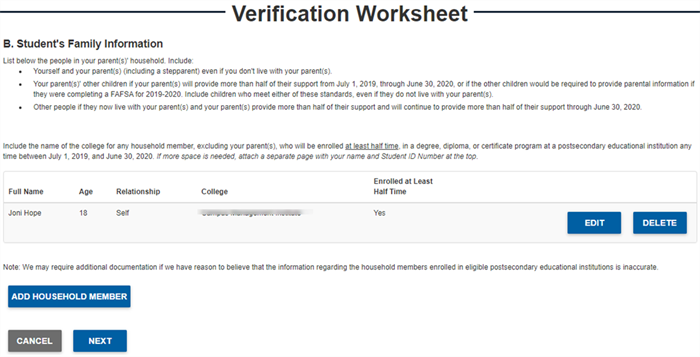
Select Next. Section B of the Verification Worksheet appears.
-
Select Edit to update the household member or Delete to remove the household member.
-
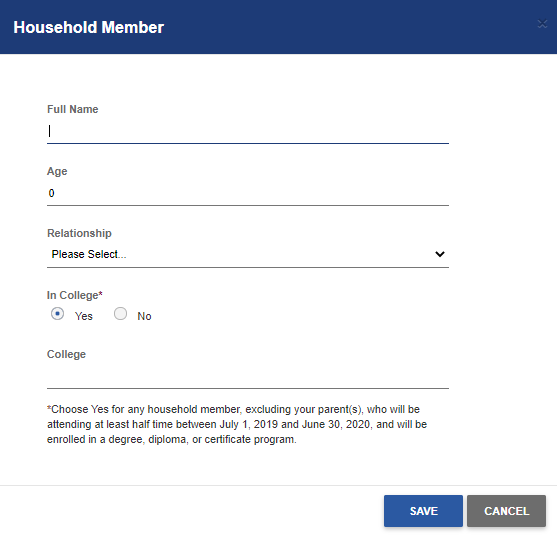
(Optional) Select Add Household Member, complete the form, and select Save.
-
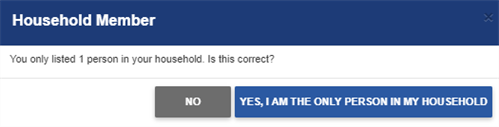
Confirm, Yes, I am the only person in my household. (This is displayed only for 1 in household and 1 in college.)
-
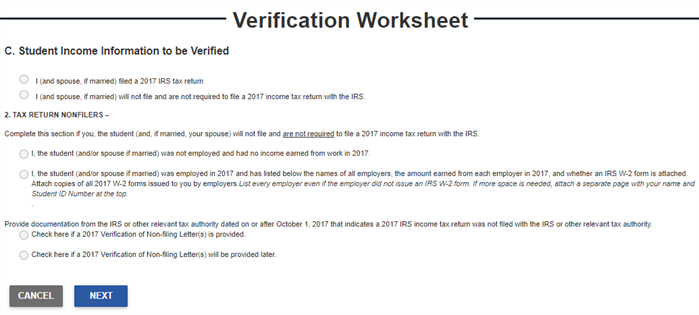
Review and complete Student Income Information to be Verified in section C of the Verification Worksheet. This page expands based on the selections.
-
Review and complete Parent Income Information to be Verified. (Only visible for dependent students)
-
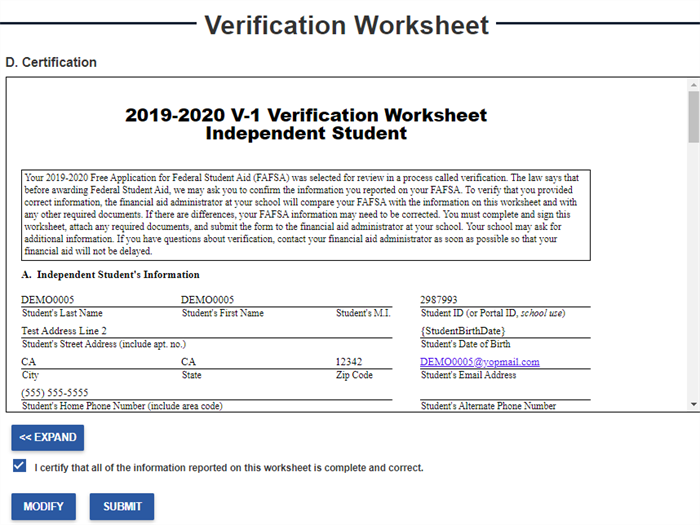
Review and certify the Verification Worksheet.
-
Select the check box to certify that all of the information reported on this worksheet is complete and correct.
-
Select Submit and review section D of the Verification Worksheet.
Important: Subsequent documents may be added to the required documents list based on answers to the Verification Worksheet.