Registering For an Event
Students can register for different types of events on the Event Calendar page:
- Stand-alone events
- Individual occurrences of recurring events that they want to attend
- Paid and free events
- Waitlisted events
The event registration page displays the options to choose Pass, sessions or session track based on the configuration for an event in Anthology Reach. For more information, see Prerequisites to Work with Events on the Portal.
Steps to Register for an Event
-
Go to the Event Calendar page.
-
Click an event to view the Event Information page.
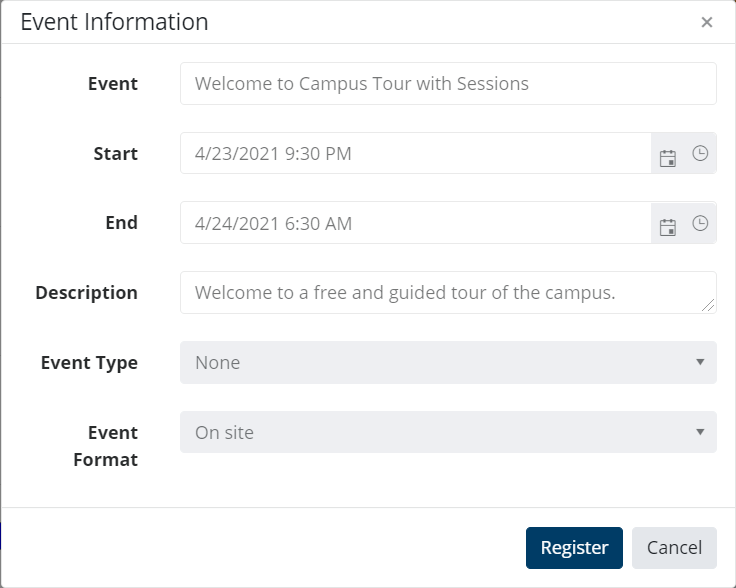
-
Click Continue.
The Event Registration page is displayed.
-
If Pass(es) are available for the event, select the required pass from the Event Pass field.
-
If multiple sessions (paid or free sessions) are configured for the event, user can choose the sessions he wants to attend by clicking the Add Session button.
-Or-
If session tracks are configured for the event, the student can choose the required session track he wants to attend from the Select a Session Track for Registration drop-down.
-
Click Continue.
-Or-
Click Register (when the selected event or sessions are free)
After the registration is complete, the payment page will be displayed where the student can click the invoice and then pay for the event.
For information on the records created when a user registers for an event, see Event Registration Records.
Notes:
- In Anthology Reach, administrators can specify a date in the field Set registration end date, after which students will not be able to register for an event.

- On the portal, students will be able to register for the event before the date and time that is set in the fields Stop website registrations or Event Start date (General tab), whichever is earlier.
-
Event waitlist functionality is currently not supported for Paid events.