The Workflow Composer installation requires the following:
-
Microsoft .NET Framework 4.5
Note: Azure Application Service deployment requires APIs to be deployed over secure HTTP (HTTPS) with TLS 1.2. Payment Card Industry (PCI) compliance also requires TLS 1.2. If the caller of these APIs does not have TLS 1.2 support, calls to APIs will fail. Applications using .NET Framework 4.5 support Transport Layer Security (TLS) 1.2, but it is not the default Security Protocol Type. The code for Workflow Composer 2.6 and the Service Module Host was updated to make TLS 1.2 the default Security Protocol Type.
Installation Manager is used to retrieve the installer for Workflow Composer. After retrieving the installer, users can run the .exe directly or copy and distribute it to other users within their organization.
Note: The login credentials (user name and password) specified during the installation of Workflow Composer must have Insert and Update permissions for the following database tables:
- WorkflowDefinition
- WorkflowDefinitionVersion
A single instance of Workflow Composer can be used to work with CampusNexus Student and CampusNexus CRM.
Install Workflow Composer:
-
Click the Package Manager tile in the Start screen of Installation Manager.
-
Download the package for Workflow Composer.
-
When the download is completed, return to the Start screen of Installation Manager.
-
Click the Workflow tile in the Start screen.
File Manager displays the SetupFiles folder containing the Workflow Setup.exe file.

-
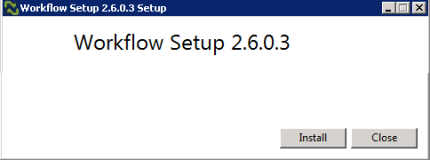
Double-click the Workflow Setup.exe file. The Workflow Setup screen is displayed.
-
Click Install. The Setup Progress screen is displayed. You are notified if a previous installation of Workflow Composer is detected.
-
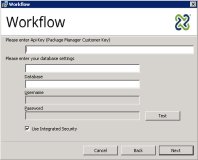
Click Next to continue. The API key and database settings screen is displayed.
-
In the API key database settings screen, specify the following:
- Api Key (Package Manager Customer Key) - This is the same key that is used in the Package Manager screen of Installation Manager.
- Database Server
- Database
Select Use Integrated Security or specify the Username and Password for the database.
Click Test to verify database access.
If the test was successful, click Next to continue.
-
(Optional) In the SMTP settings screen, specify the following if you want the application to be able to send emails to the intended recipients:
- SMTP Server
- SMTP Port (default: 25)
- If applicable, select Use credentials to authenticate and specify the Username and Password.
- If applicable, select Enable SSL.
-
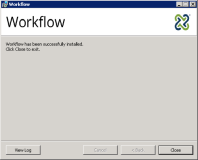
Click Next. The installation process starts. Click Close when Workflow has been successfully installed.
-
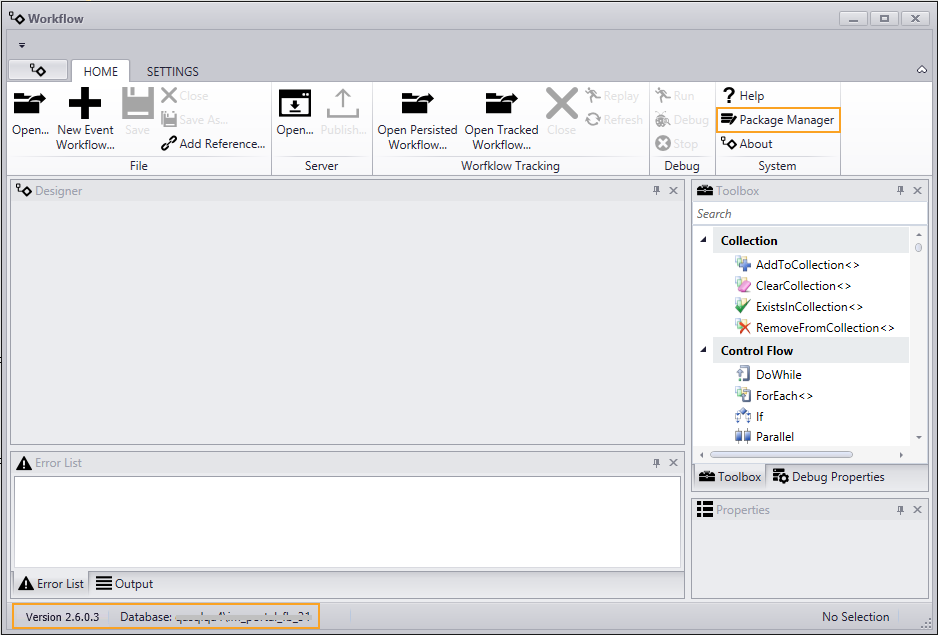
Click the Workflow icon on your desktop to open Workflow Composer.

Note that the status bar indicates the Workflow Composer version and database connection.
-
In the ribbon of Workflow Composer, click Package Manager. Click Yes to close Workflow.
-
In the Package Manager screen, check the address of the Package Manager Host. If necessary, edit the address and click Update.

-
In the Available Packages section, locate the Activities and Contracts packages to be used with Workflow Composer in your environment. The packages are product and version specific.
Note: CampusNexus Student requires two packages. For example, if your CampusNexus Student environment is at version 19.0.0, install Activities And Contracts (V1) 19.0.0 and Activities And Contracts (V2) 19.0.0.
Click
 to install each package.
 The installed packages will be listed in the Currently Installed Packages section.
To remove a package, click
 in the Currently Installed Packages section.
 -
Click Done to close Package Manager.
Related Topics
Related Tasks
Reference
Last Updated: 7/19/2019 | Installation Manager 1.20 | © 2019 Campus Management Corp. All rights reserved. | www.campusmanagement.com


