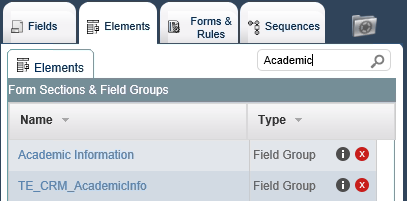
In Build mode, click the Elements tab. All existing Elements are displayed.
Type the Element Name in the Search tab. The Element is displayed in the Elements grid.

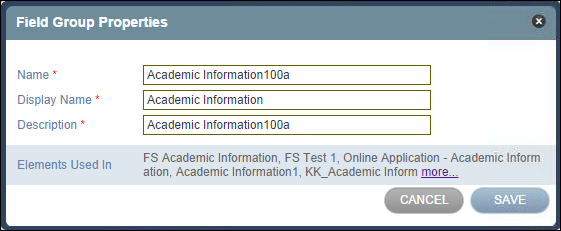
Click ![]() next to an Element. The Element Properties dialog box is displayed.
next to an Element. The Element Properties dialog box is displayed.

Move an Element from the Toolbox to the Canvas, and then click ![]() in the title bar of the element. The Element Properties dialog box is displayed.
in the title bar of the element. The Element Properties dialog box is displayed.
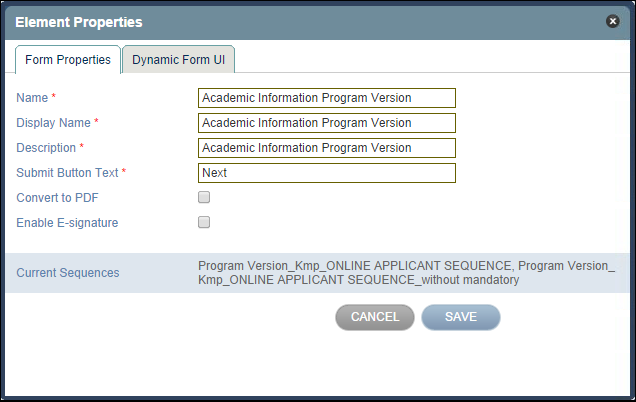
The Form Properties tab enables you to specify or update various properties on the Form:

-
Modify the Name, Display Name, and Description of the Form.
-
Specify the text that will be displayed on the Submit button.
-
Select the Convert to PDF check box if you want the Element to be converted to PDF. Add an appropriate rule to the Sequence in order to save the PDF to the Source system.
If you select Convert to PDF for a Form Template, the generated PDF will contain only the specific Form that is configured.
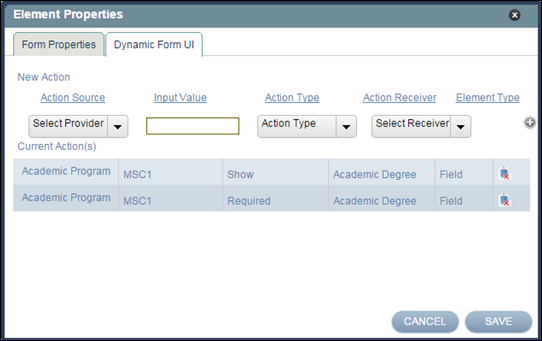
The Dynamic Form UI tab enables you to configure actions that will be performed dynamically based on the user's input.

For example, you can configure the Academic Degree field to be displayed only if the value MSC1 Program is selected in the Academic Program list.
-
In the Action Source list, select the relevant field to trigger the dynamic action.
-
Enter or select an appropriate value in the Input Value field. Based on the selected Action Source’s control type, the Input Value Field will either be a text box or drop-down list.
-
In the Action Type list, select one of the following values:
- Hide
- Show
- Required
- Optional
The value selected in this list governs the behavior of the field that you select in the Action Receiver list.
-
In the Action Receiver list, select the relevant option. The Action Receiver can be a Field, Field Group, or Form Section.
-
Click
 to add the New Action to Current Actions. When you do so, details of the action are displayed in the Current Actions area.
 to remove an action.