In Build mode, click the Fields tab. All existing Field Objects are displayed.
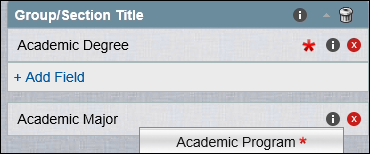
Navigate to the Field. Drag and drop it to the Canvas.
Text in the title bar of the Canvas changes to Field Group and the Field is displayed in a new expanded Element.

Drag and drop additional Fields in the gray box to create a Field Group, Form Template, or Form Section.
When you drag a Field to the canvas, the field is enclosed in the gray box in the Element. Once it is moved to the canvas, it is displayed below the preceding field.

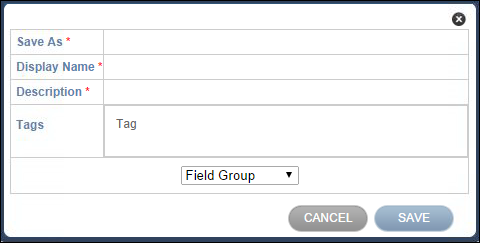
Click SAVE. The Save As dialog box is displayed.

Note
If the Display Name is blank, it will be populated with the Element Save As name when you tab out of the Save As field. You can then change the default Display Name as needed.
Specify appropriate details in the Save As, Display Name, Description, and Tags fields. You can save the group of fields as a Field Group, Form Section, or Form Template.
- If the Element is saved as a Field Group or Form Section, it is displayed in the Elements tab.
- If the Element is saved as a Form Template, it is displayed in the Forms & Rules tab.
Click SAVE. The Element is saved.