
Add a Bot
In this part of the procedure you will add a bot in the Live Assist Administration Portal. You will:
- Assign a name to the bot
- Allocate licenses to the bot
- Add a connection key
Prerequisite:
You must have completed the procedure Create Channels and Sites.
-
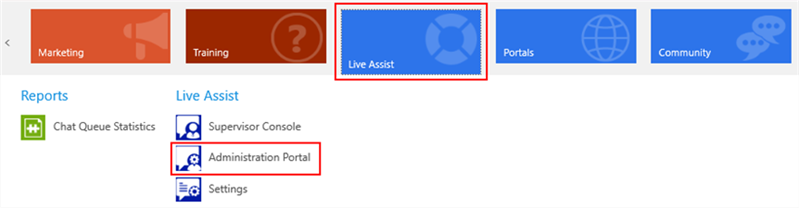
Log in to the Live Assist Administration Portal.

-
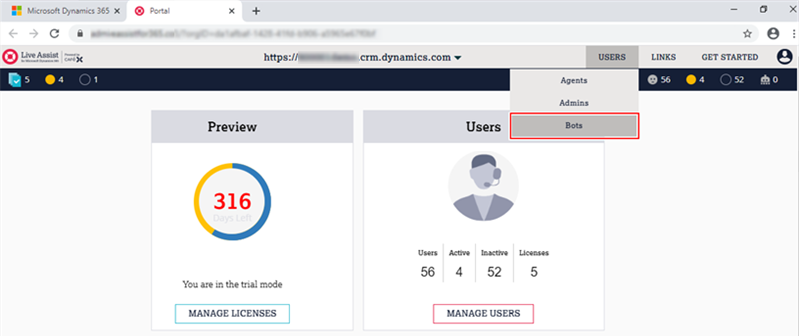
Navigate to USERS > Bots.
-
Click ADD to add a bot.
-
On the Add a Bot page:
-
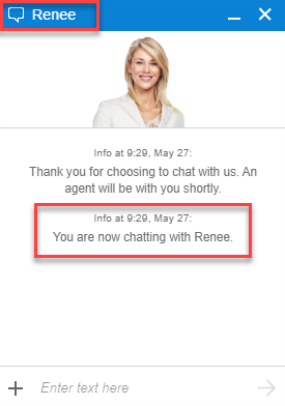
Specify a Nickname for the bot. The Nickname is the name the chat users sees in the portal when they start the chat (e.g., Renee).

Note: If you want to change the name of the bot, see Change the Bot Name.
-
Allot the Licenses as per the institution’s requirements.
(see Licensing).
-
Add the Connection Key. This is secret key retrieved from the Web App Bot in the Azure Portal (see Create Channels and Sites).
-
Verify the added key by clicking on TEST. If the connection key is correct, green highlighting appears.
-
Click Save.
-
-
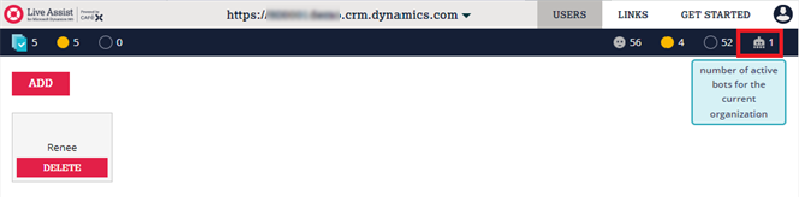
Once the bot is saved, bot ‘Renee’ will be displayed on the bots page.
The allotted licenses for the bot can be verified in the top right corner of the Live Assist Administration Portal.


Continue with Create a Bot User Skill.
In this part of the procedure you will add a bot in the Live Assist Administration Portal. You will:
- Assign a name to the bot
- Allocate licenses to the bot
- Add a connection key
Prerequisite:
You must have completed the procedure Create Channels and Sites.
-
Log in to the Live Assist Administration Portal.
-
Navigate to USERS > Bots.
-
Click ADD to add a bot.
-
On the Add a Bot page:
-
Specify a Nickname for the bot. The Nickname is the name the chat users sees in the portal when they start the chat (e.g., Renee).
Note: In the FAQs (see RENEE-FAQ-0107), we have provided the question “What is your name?” to allow institutions to change the name of Renee. When a bot is added to a customer's environment, the bot's name should be aligned with the FAQ response for “What is your name?”.
-
Allot the Licenses as per the institution’s requirements (see Licensing).
-
Add the Connection Key. This is secret key retrieved from the Web App Bot in the Azure Portal (see Create Channels and Sites).
-
Verify the added key by clicking on TEST. If the connection key is correct, green highlighting appears.
-
Click Save.
-
-
Once the bot is saved, bot ‘Renee’ will be displayed on the bots page.
The allotted licenses for the bot can be verified in the top right corner of the Live Assist Administration Portal.
Continue with Create a Bot User Skill.