The installation supports multiple setup configurations depending upon the business needs. All of this information is displayed in the Review Configuration screen.
Review the Configuration and Start Installation
-
Once all setup screens have been properly populated and all lines have been tested and found to be functional on each component screen, click Review Configuration to see all of the information in one screen.
-
Click Check prerequisites to validate the configuration. The check results are displayed.
 Indicates that the component passed the prerequisites check.
 Indicates that the component failed the prerequisites check.
Correct any issues for failed components and run the prerequisites check again. Proceed with the next step after all components pass the check.
-
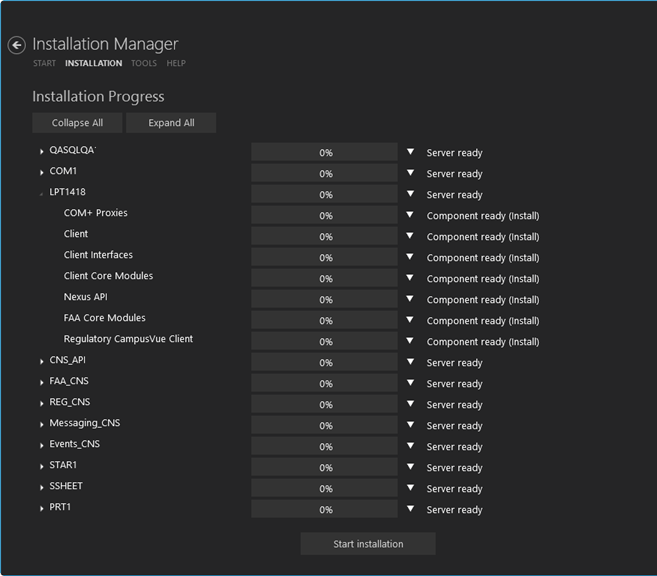
Click Skip Prerequisites Check. The Installation Progress screen is displayed.

Click Expand All and scroll through the list of items. Or, click Collapse All and then click
 to expand a section.
 -
Click Start Installation. Progress bars display the percentage progress of the components that are being installed.
Note: The Start Installation button is disabled while the installation is in progress and upon successful installation of all components. If an error occurs during installation of one or more components, the Start Installation button is enabled again.
-
Once the progress bars have reached 100%, a message is displayed confirming the installation, or an error message is displayed.
-
To verify or troubleshoot the installation, click
 next to a progress bar to access installation logs and other tools (see Installation).
